Are you thinking about building your own PC but don’t know where to start? Building a PC can seem intimidating, but with a little bit of knowledge and some careful planning, it’s actually a relatively straightforward process. In this blog post, I’ll walk you through the steps of how to build a PC, from choosing the right components to assembling everything and installing an operating system. By the end of this guide, you’ll have a fully functional PC that you built yourself! Whether you’re a gamer looking to get the best performance possible or just want a custom-built machine that’s tailored to your needs, building a PC can be a rewarding and cost-effective option. So let’s get started!
Before you start building your PC, it’s important to set up a suitable workspace. Here are some steps to follow:
- Gather all the necessary tools and components: Make sure you have everything you need, including a screwdriver, pliers, and all the parts for your PC.
- Choose a flat, stable surface to work on: It’s important to have a stable surface to work on so that you can assemble your PC without any issues. A table or desk is ideal.
- Make sure you have good lighting: Good lighting is important so that you can see what you’re doing clearly. Make sure you have a well-lit area to work in.
- Clear the area of any clutter: It’s a good idea to clear the area of any clutter so that you have plenty of space to work and can easily access all the parts and tools you need.
- Make sure you have a reliable power source: You’ll need a reliable power source to test your PC once it’s built. Make sure you have access to an outlet or surge protector.
- Consider wearing an anti-static wrist strap: A static wrist strap can help prevent static electricity from damaging your components. If you don’t have one, try to touch a metal object periodically while working to discharge any static electricity.
- Familiarize yourself with the parts and their functions: Before you start building your PC, it’s a good idea to familiarize yourself with the different parts and their functions so that you know what goes where and how everything fits together.
Here are the basic steps to build a PC.
- Install the CPU cooler and CPU:
- Remove the CPU cooler from its packaging and set it aside.
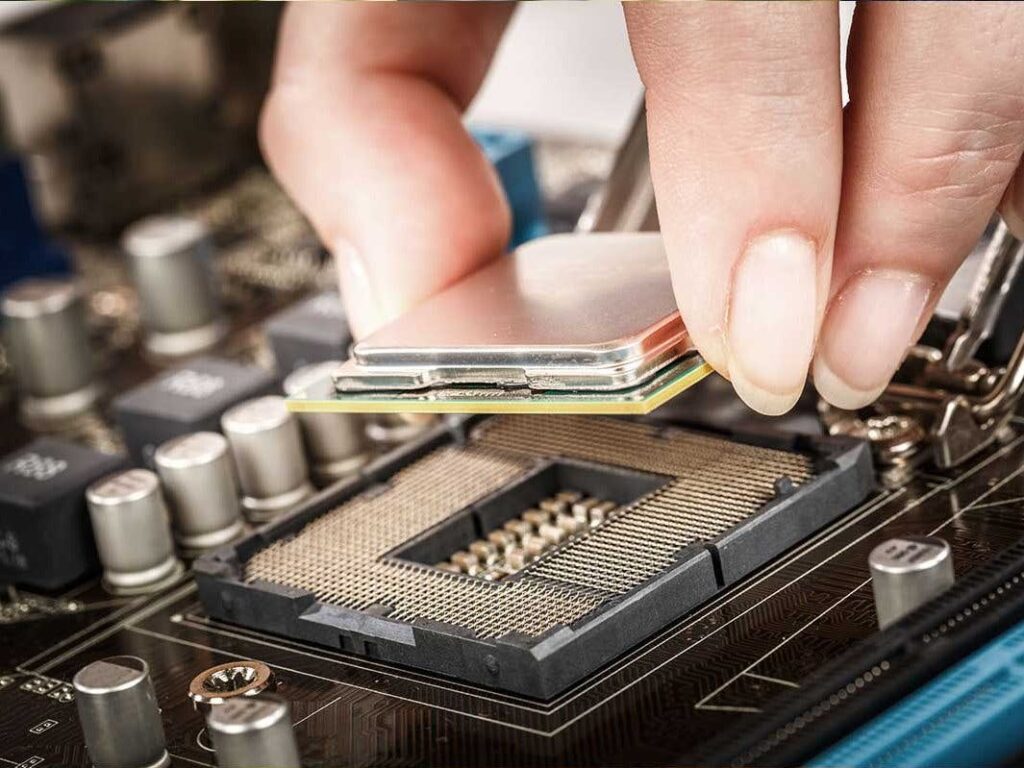
- Carefully lift the CPU socket cover on the motherboard, taking care not to touch any of the pins.
- Align the CPU with the socket, making sure that the notches on the CPU match up with the grooves in the socket.
- Gently lower the CPU into the socket, pressing down gently until it snaps into place.
- Reinstall the CPU socket cover.
- Follow the instructions provided with the CPU cooler to attach it to the CPU. This will usually involve applying thermal paste to the top of the CPU and then mounting the cooler on top of it.
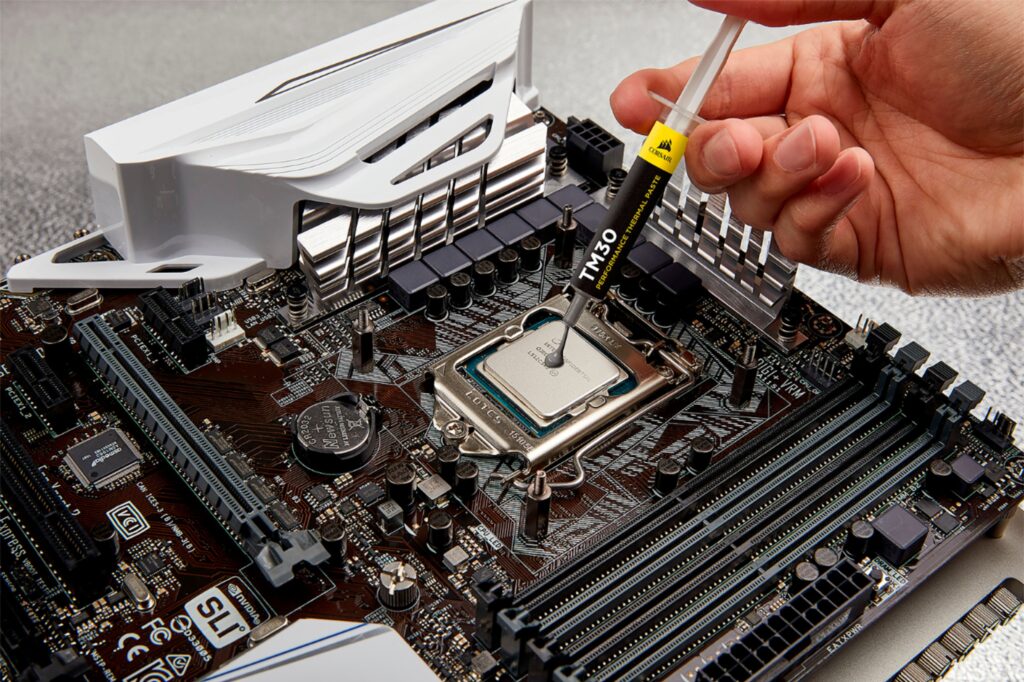
Applying thermal paste to a CPU is a crucial step in the process of building a PC, as it helps to improve the heat conductivity between the CPU and the CPU cooler. Here’s how to apply thermal paste:
- Clean the top of the CPU: Use a lint-free cloth or cotton swabs to gently clean the top of the CPU to remove any dust or debris. Make sure the surface is completely clean and dry before proceeding.
- Apply a small amount of thermal paste to the center of the CPU: Squeeze a small amount of thermal paste (about the size of a pea) onto the center of the CPU. Be careful not to use too much, as this can cause the paste to spread out too thin and potentially cause overheating.
- Spread the thermal paste evenly: Use a flat, smooth object (such as a credit card or the edge of a ruler) to spread the thermal paste evenly across the surface of the CPU. Be sure to spread the paste in a thin, even layer, as thick layers can cause air pockets that can reduce the paste’s effectiveness.
As for the shape of the thermal paste, it’s generally recommended to use a dot or line shape. This allows the paste to spread out evenly when you attach the CPU cooler, filling in any gaps and ensuring good contact between the CPU and cooler.
Note* Some CPU coolers come with pre-applied thermal paste, in which case you don’t need to apply your own. Check the instructions for your specific cooler to see if this is the case.
- Install the RAM:
- Locate the RAM slots on the motherboard. There are usually two or four of these, and they will be located near the CPU.
- Carefully lift the RAM latch on each slot, taking care not to touch any of the pins.
- Align the RAM sticks with the slots, making sure that the notches on the sticks match up with the grooves in the slots.
- Gently push down on the sticks until they snap into place.
- Close the RAM latches to secure the sticks in place.

- Install the motherboard:
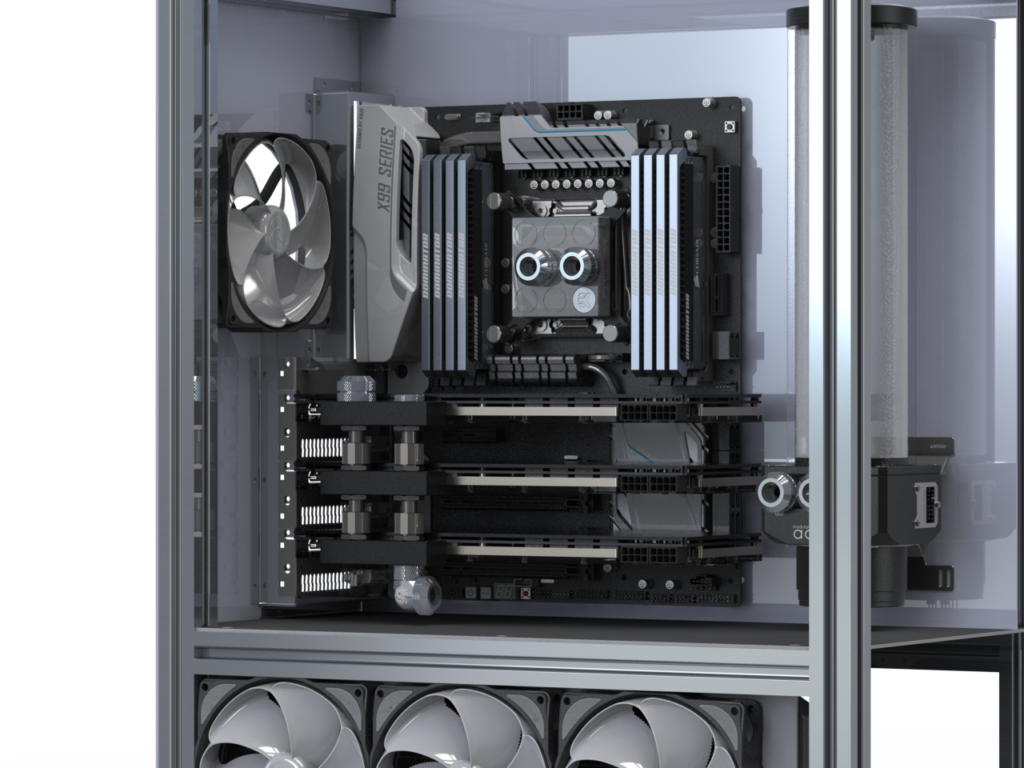
- Find a suitable location to mount the motherboard. This will typically be in the center of the case, with the backplate facing outwards.
- Line up the mounting holes on the motherboard with the corresponding standoffs on the case.
- Secure the motherboard to the case using screws. Make sure the screws are tightened down properly, but be careful not to overtighten them.
- Install the power supply:
- Find a suitable location to mount the power supply. This will usually be at the bottom or back of the case.
- Line up the mounting holes on the power supply with the corresponding holes on the case.
- Secure the power supply to the case using screws.
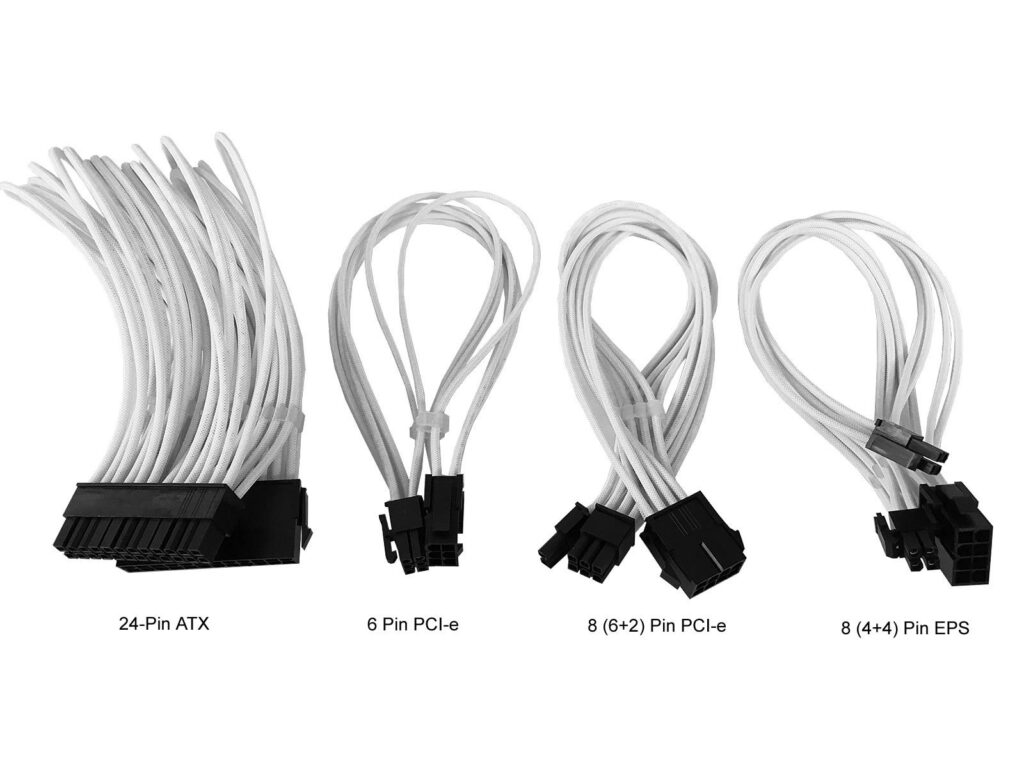
- Connect the power supply to the motherboard using the appropriate cable. This will typically be a 24-pin ATX power cable.
- Install the storage devices:
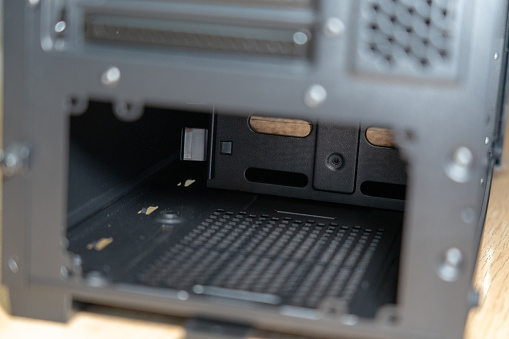
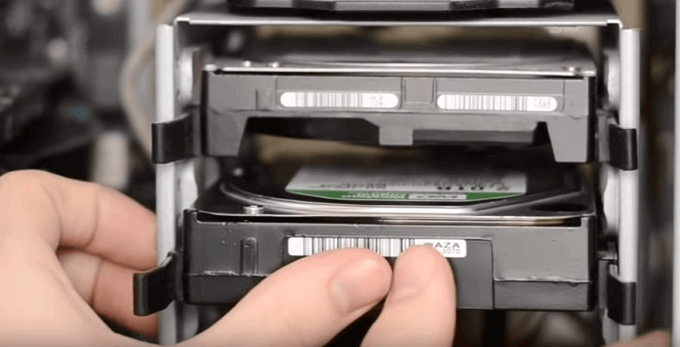
- Install the hard drive(s) by locating the appropriate drive bays in the case. These will usually be located near the front of the case.
- Line up the mounting holes on the hard drive with the corresponding holes in the drive bay.
- Secure the hard drive to the case using screws.
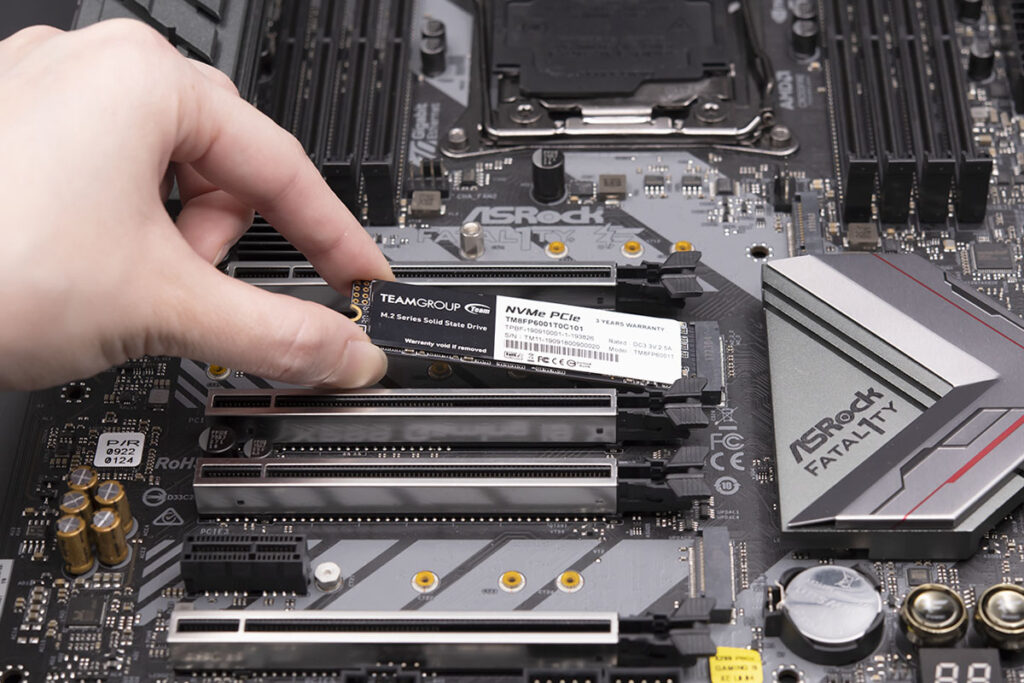
- If you have an SSD, you can install it in a similar manner, either in a drive bay or using a mounting bracket.
- Install the graphics card:
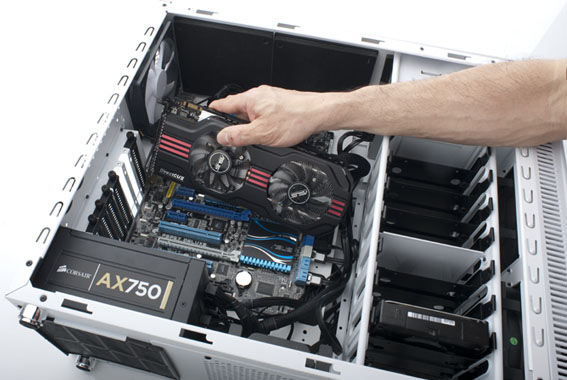
- Find the PCIe slot on the motherboard that is appropriate for your graphics card. This will typically be the longest slot.
- Carefully remove the PCIe slot cover from the case.
- Line up the graphics card with the PCIe slot, making sure that the notches on the card match up with the grooves in the slot.
- Gently push down on the graphics card until it snaps into place.
- Secure the graphics card to the case using screws.
- Install the fans:
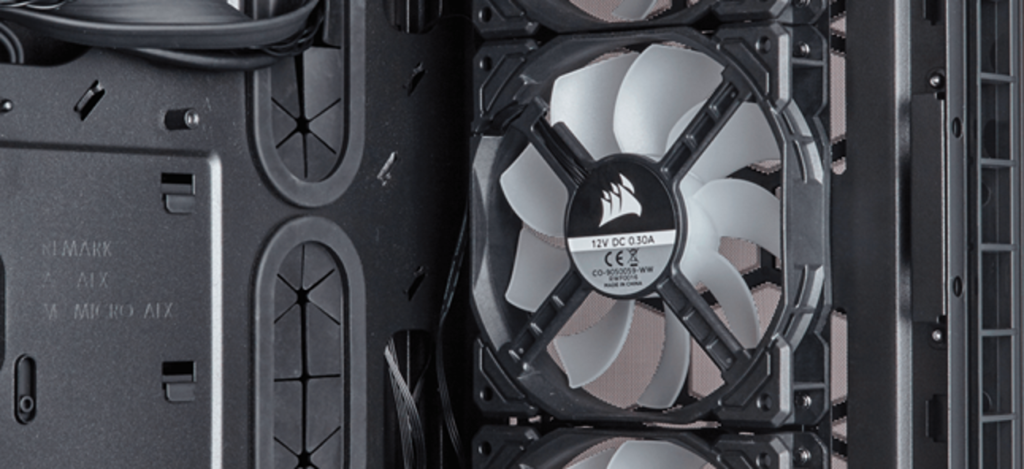
- Locate the fan mounting points on the case. These will usually be located on the front, back, and top of the case.
- Install the fans by aligning the mounting holes on the fans with the corresponding holes on the case.
- Secure the fans to the case using screws.
- Connect the wires:
- Connect the power supply to the motherboard using the appropriate cable. This will typically be a 4-pin or 8-pin ATX power cable.
- Connect the power supply to the hard drive(s) using SATA power cables.
- Connect the power supply to the graphics card using a PCI-E power cable.
- Connect the motherboard to the hard drive(s) using SATA data cables.
- Connect the motherboard to the graphics card using a display cable (such as HDMI or DisplayPort).
- Connect any additional components (such as a case speaker, front panel connectors, etc.) according to the manufacturer’s instructions.
- Close up the case:
- Once all the components are installed and connected, you can close up the case by replacing the side panels and securing them with screws.
- Make sure your panels are secure and airtight if they are not this can cause your components to collect dust
- Check for any lose screws and make sure to tighten them
- Power on the PC:
- Connect the power supply to a wall outlet or surge protector.
- Press the power button on the case to turn on the PC.
- Follow the on-screen prompts to install an operating system (such as Windows or Linux) and finish setting up your new PC.
- Install the latest drivers to your Graphics card, CPU etc.
That’s it! With these steps, you should now have a fully functional PC that you built yourself. Building a PC doesn’t seem so intimidating now, and with a little bit of knowledge and some careful planning, it’s a relatively straightforward process. Good luck, and have fun building your new PC!


Leave a Reply